Personalize
Branding (Pro)
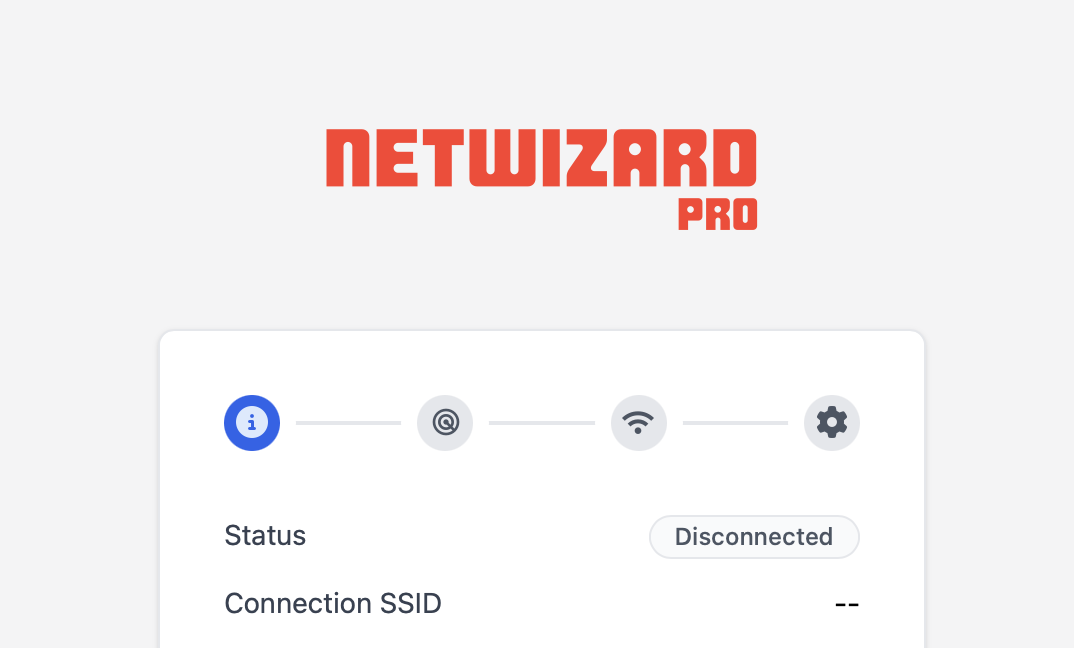
Pro Feature
This is an exclusive feature of NetWizard Pro. Check it out here.
NetWizard Pro library contains a spot which can be updated to add your own company/product logo. This enables you with complete personalization and maintains your brand value among customers.
We'll go through the process below:
Setting Logo
What you'll need
- You'll need a compatible logo image (jpeg / png / gif etc) or an SVG file (recommended due to small file size). Important: Please make sure your image is optimized and tiny in file size before proceeding.
- Know the MIME file type of your image. You can use HTTPStrip's mime utility.
Step 1: Procedure to convert logo into byte array
- Go to File2Raw Utility ( I created this utility a few years back for the purpose of converting files into byte array for C++ applications ).
- Select your logo.
- Select "Gzip Compress" & "Use PROGMEM (Arduino)".
- Click "Convert".
Step 2: Setting custom logo in sketch
Now once your custom logo has been prepared, let's set it in your NetWizard Pro library:
- Open
logo.hwhich can be found inside src folder of your library. - Set
NETWIZARD_LOGO_MIMEto your image file type. To find your file's mime type, use this utility: MIME File Type Checker - Set
NETWIZARD_LOGO_WIDTH&NETWIZARD_LOGO_HEIGHTaccording to your desired size which will be displayed on the webpage. - Replace the array length of
NETWIZARD_LOGOwith the newly generated array length. - Now open
logo.cpp - Replace the data inside
NETWIZARD_LOGOwith newly generated byte array.
Step 3: Upload firmware again
That's all there is to it! You can now compile & re-upload your firmware to your microcontroller and begin using NetWizard Pro with your own logo.